This guide explains how to upload a a large amount of invoices via a CSV file.
Be aware you can also upload multiple invoices via the standard invoice upload process as per the steps located in this article Uploading Invoices in the Halo Client Portal.
Upload Bulk Invoices
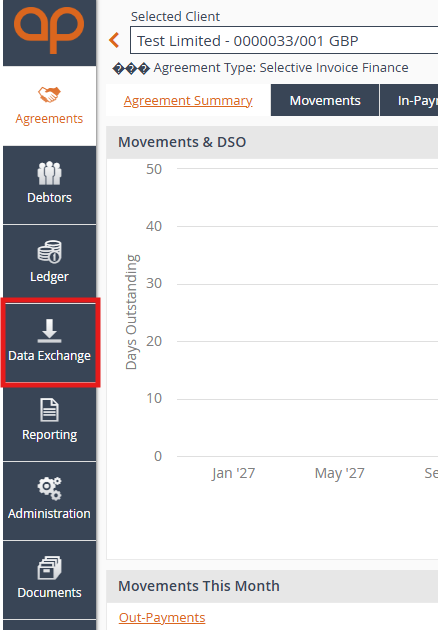
- From the left-hand navigation menu, select Data Exchange.
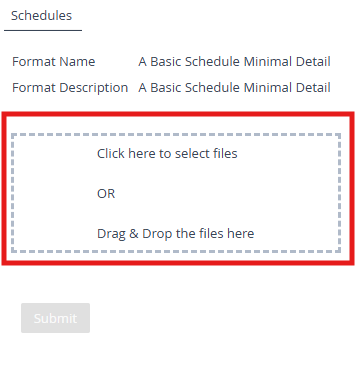
- Drag the completed CSV file to the window highlighted or click within the box to select the file to upload. Follow the details at the end of this guide regarding formatting the CSV file.
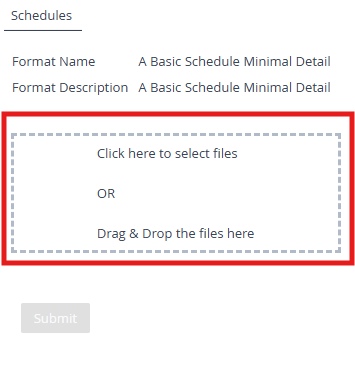
- Once uploaded, click Submit.
- If the details have been correctly populated within the CSV file, the invoices will be uploaded and be presented to the Operations Team for review.
- In the event there is an error with the format of the file, it will be presented after the file has been analysed with details on what to review. This can be Viewed from the Messages area at the top right of Halo.
- Select the message relating to you uploaded invoices to view the details. An sample error detailed below.
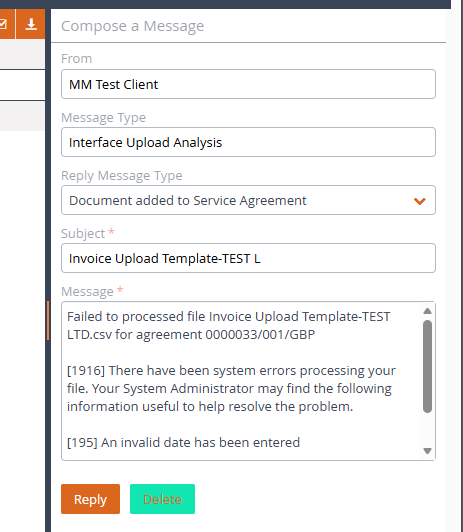
- If the upload has failed, resolve the issue within the CSV File and upload again.
- To see the successfully uploaded invoices, go to Ledger - Schedule Review. Any new invoices uploaded that have not been posted will be shown there. To manage invoices, review this article here.
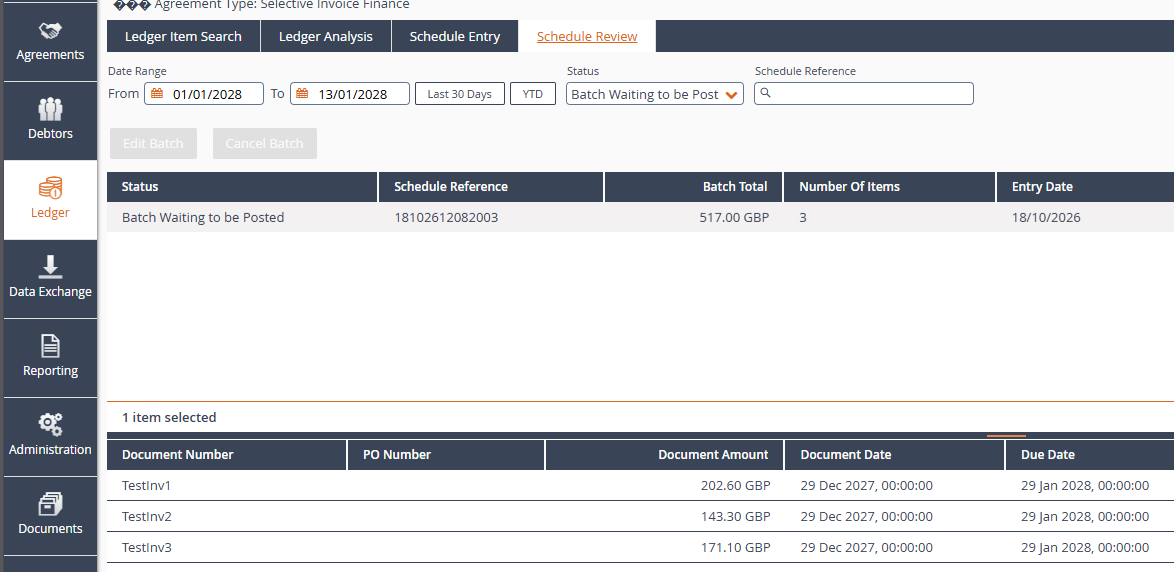
- You will be able to upload any supporting documentation required or requested by selecting the relevant invoice from the list.
Format the CSV file
A copy of the CSV template is located at the end of this article.
- To ensure the format of the upload file matches what is expected, do not change or remove any of the column heading in the template. Also, do not add any new column headings.
- Debtor Number - Enter the Debtor number associated with the invoice.
- The Debtor number is located within Debtors - Debtor Details and Notes. Select the relevant Debtor and review the value beside Client's Reference for Debtor.
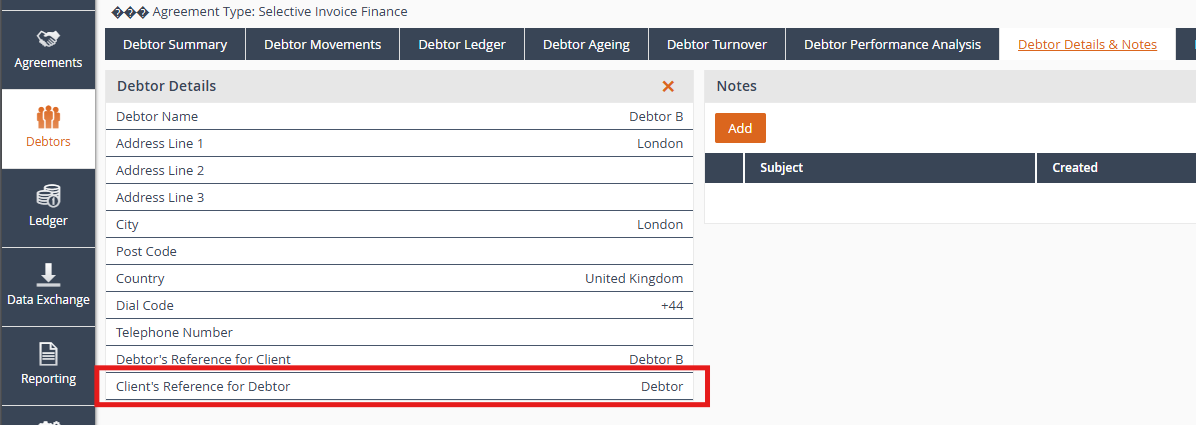
- The Debtor number is located within Debtors - Debtor Details and Notes. Select the relevant Debtor and review the value beside Client's Reference for Debtor.
- Invoice Date - Enter the date of the invoice in ddMMyyyy format. For example 21st July 2026 = 21072026.
- Important Note - for dates start with 0, in Excel, enter an apostrophe (') before the date. For example 01012026 should be entered in Excel as '01012026. This will ensure the leading zero is included.
- Due Date - Enter the Due Date of the invoices in ddMMyyyy format. For example 21st July 2026 = 21072026.
- Important Note - for dates start with 0, in Excel, enter an apostrophe (') before the date. For example 01012026 should be entered in Excel as '01012026. This will ensure the leading zero is included.
- Invoice Number - Enter the invoice reference/number.
- Total Amount - Enter the total amount of the Invoice.
- Currency - Enter the invoice currencyusing its three-letter currency code, for example, EUR, GBP, USD.
- Ensure you enter only one invoice per row.
- When finished save the file. Ensure that the file type is not changed from CSV (Comma delimited) (*.csv) in Excel.
Was this article helpful?
That’s Great!
Thank you for your feedback
Sorry! We couldn't be helpful
Thank you for your feedback
Feedback sent
We appreciate your effort and will try to fix the article